First Blog
法外狂徒张三:“未经省察的人生是没有意义的”,共勉
本站是使用Hexo+travis+github pages搭建,意义在于记录自己的学历过程,可能几年过后回首还能勾起些许回忆;同时也是一种激励,因为学习是反人性的,需要及时的正反馈。
1.搭建过程
1.1 安装Hexo脚手架
1 | npm install -g hexo-cli |
1.2 初始化项目
1 | hexo init <folder> |
初始化完成之后项目结构
1 | . |
1.3 安装Hexo-server
1 | npm install hexo-server --save |
至此就可以本地启动项目了
1 | hexo server |
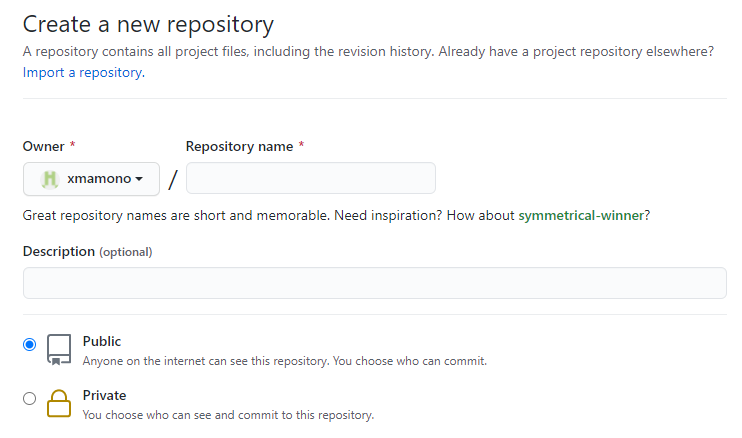
1.4 创建github仓库
travis对开源项目是免费的,对私有项目是收费的;同时github pages 想要设置域名为 http://username.github.io 则repository name 必须设置同域名,否则域名会变成 https://username.github.io/repository name,即创建repository的配置基本固定,repository name = username.github.io ,repository type = public
1.5 上传代码
如果repository没有创建README.md,不会创建分支,创建之后会生成默认main分支,不知道从什么时候开始不是master分支了。
1 | cd <folder> |
1.6 引入travis
写的很详细,需要注意的是.travis.yml文件中有两处需要修改
- nodejs版本 v10测试对代码块的支持有限,可以考虑升级到最新版
- branches 监听分支改为main。
将 .travis.yml 推送到 repository 中,Travis CI 应该会自动开始运行,并将生成的文件推送到同一 repository 下的 gh-pages 分支下
1 | sudo: false |
至此可以看到travis控制台,每次代码提交会自动部署
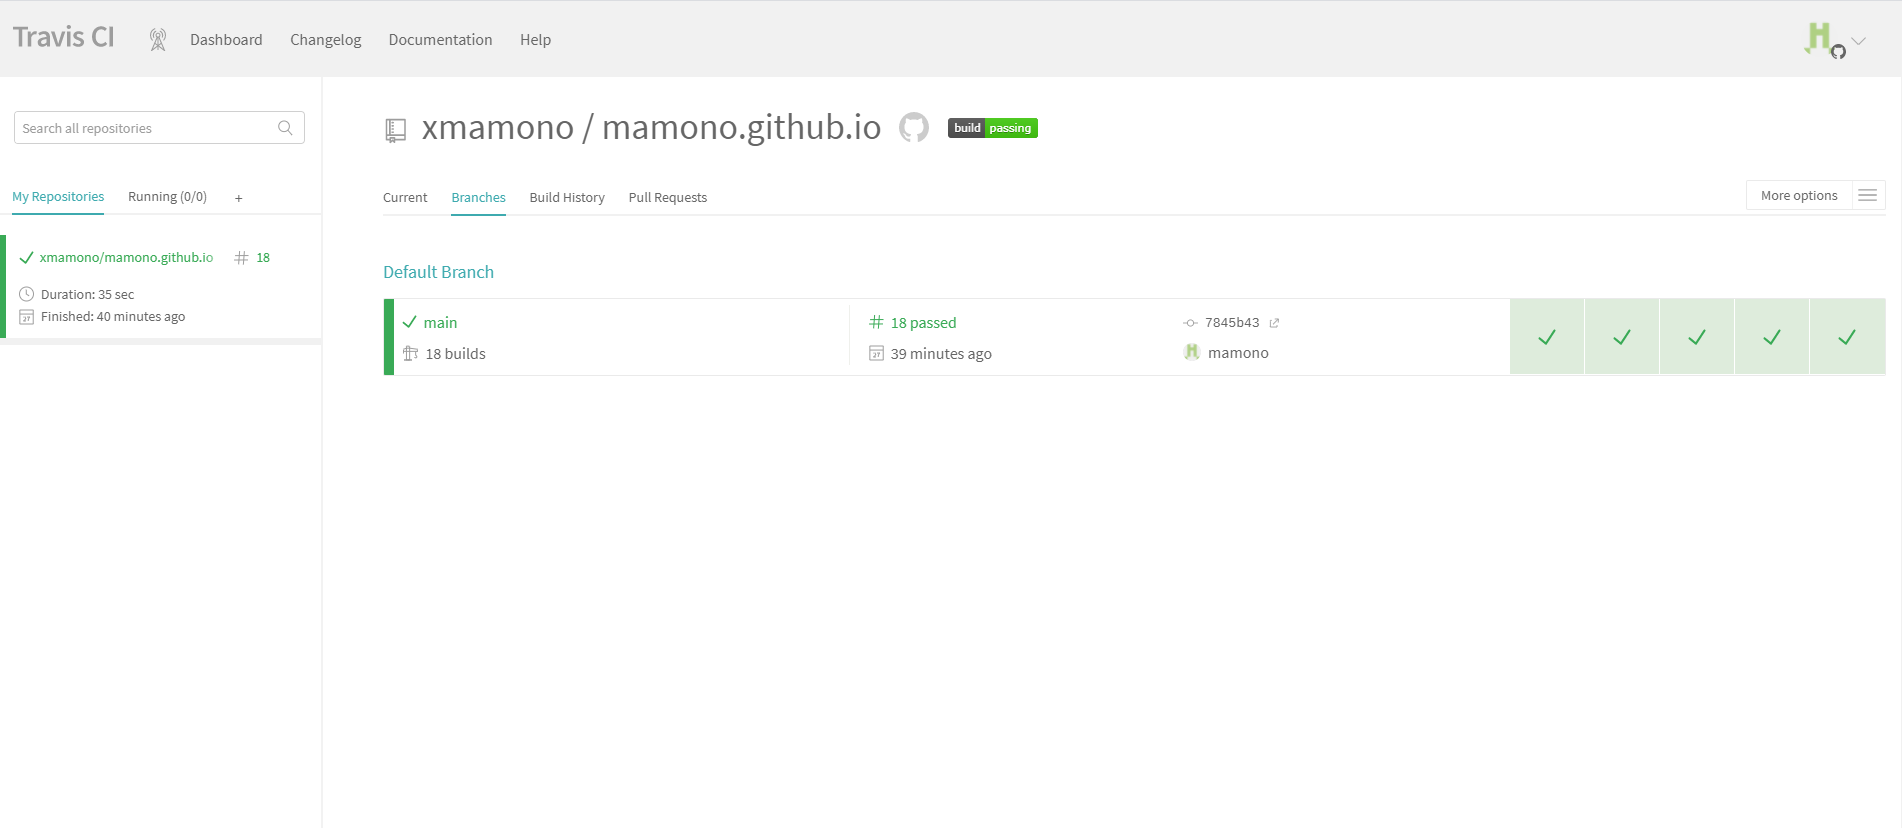
不得不说,travis是真的厉害,使用人性化,界面简洁
发布于